Flying Geese Unit Chart
To determine the cut size of the small triangles, measure the finished height of the large triangle and add 7/8”. If you want to avoid the math, see the chart below.
Finished Flying Geese unit (Height & base) | Finished size 1” x 2” | Finished size 1¼”x2½” | Finished size 1½” x 3” | Finished size 1¾”x3½” | *Finished size 2”x 4” | Finished size 2¼”x4½” | Finished size 2 ½”x 5” | Finished size 2¾”x5½” | Finished size 3”x6” |
Small Square, cut size (corner triangles) | 1 7/8” | 2 1/8” | 2 3/8” | 2 5/8” | 2 7/8” | 3 1/8” | 3 3/8” | 3 5/8” | 3 7/8” |
Large Square, cut size (flying geese in middle) | 3 ¼” | 3 ¾” | 4 ¼” | 4 ¾” | 5 ¼” | 5 ¾” | 6 ¼” | 6 ¾” | 7 ¼” |
Let’s work on a finished size, 2” x 4”.

Cut 4 squares, 2 7/8" x 2 7/8" (brown in picture)
and one larger square, 5 1/4" x 5 1/4" (yellow in picture) - this is the 'geese'

On small squares, draw a diagonal line from upper left to lower right.

Place two of the smaller squares on yellow square as shown in picture.
Sew a scant ¼” on each side of your pencilled diagonal line.

Cut on the pencilled diagonal line. This yields two sets.

Press seams open, away from the large triangle.

Place a small square on the top of the yellow triangle as in picture, with pencilled diagonal line from top to bottom.
Sew 1/4" away from the line.

Cut on the penciled diagonal line.
Repeat with the second set.
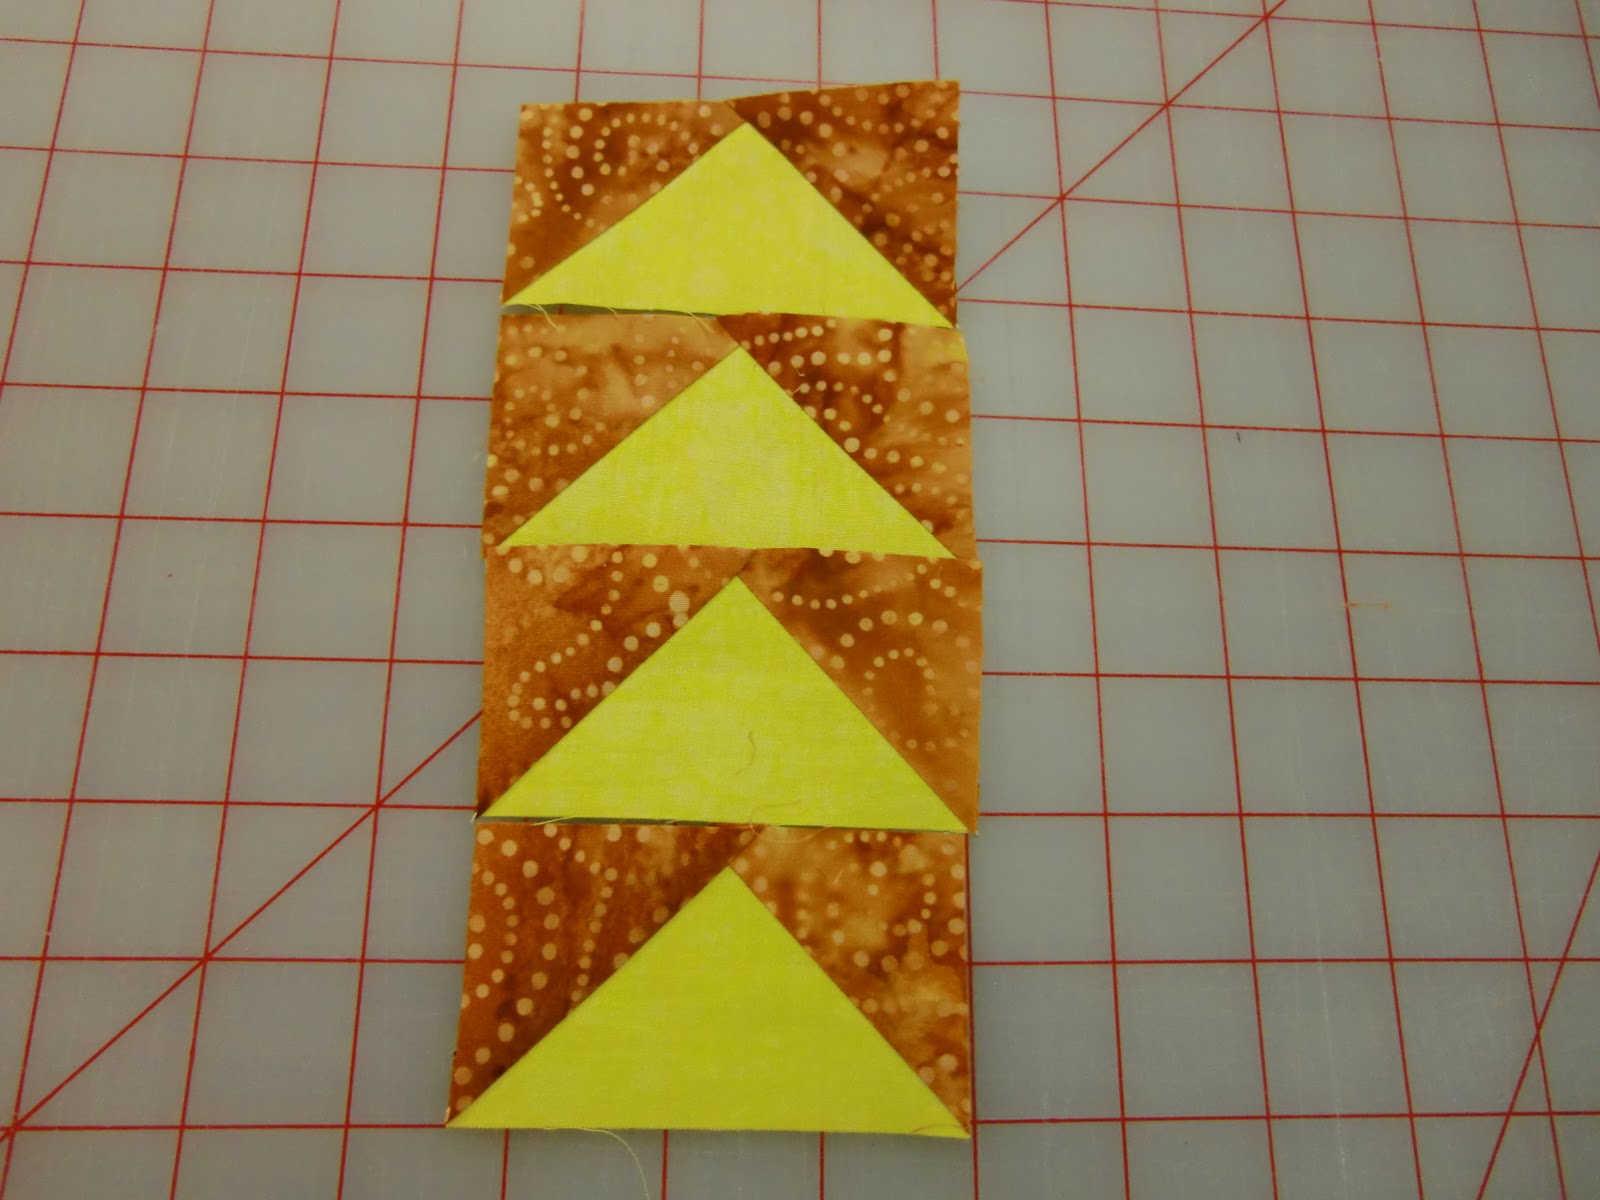
You will end up with 4 Flying Geese. Nice and easy, no waste, no trimming.
Isn’t that neat?
No comments:
Post a Comment